Oct. 3, 2014 Making Wax Model
Table of Contents
DATE AND TIME: Oct. 3, 2014 9:00-11:00 AM
LOCATION: Columbia University, Chandler Hall Rm. 260 - Manhattan, NY
SUBJECT: Making wax mold
- We tried to carve the wax mold using wax poured in cupcake molds
- I tried to carve a sun with human face using old pen tip and swiss knife. We found dipping the tool in hot water would help carving the wax.
- It was impossible for me to transform a 2D picture into 3D form!
- The wax started to melt in my hand and created a mess surface.
Oct. 7, 2014 Making Wax Model
NAME: Yijun WangDATE AND TIME: Oct. 7, 2014 9:00-11:00 AM
LOCATION: Columbia University, Chandler Hall Rm. 260 - Manhattan, NY
SUBJECT: Making wax model
- After Tonny’s talk on sand casting, we continue to make our wax model.
- I gave up my previous wax and chose an easier model: a Banliang (半两) style bronze coin in the Qing Dynasty.
- I made the wax thinner and carved a square whole in the center. Then I carved seal inscriptions of Chinese characters “Banliang” (literary means half taels of bronze) at the surface.
- Just as last time, the wax started to melt in my hand. So the bottom was not flat enough.
- The wax was too sticky that I couldn’t create clean lines in my inscription.
Oct. 7, 2014 Pouring Plaster
NAME: Yijun, Michelle, Diana, TonnyDATE AND TIME: Oct. 7, 2014 4:00-6:00 PM
LOCATION: Columbia University, Chandler Hall Rm. 260 - Manhattan, NY
SUBJECT: Pouring Plaster
- Under the supervision of Tony, I started to create a plaster model of my wax model.
- Tony prepared a clay with flat surface using a rolling pin.
- We added some soap on the surface of the clay to prevent the wax from sticking to the clay.
- I print my wax model face down into the clay to get the details of my seal inscriptions.
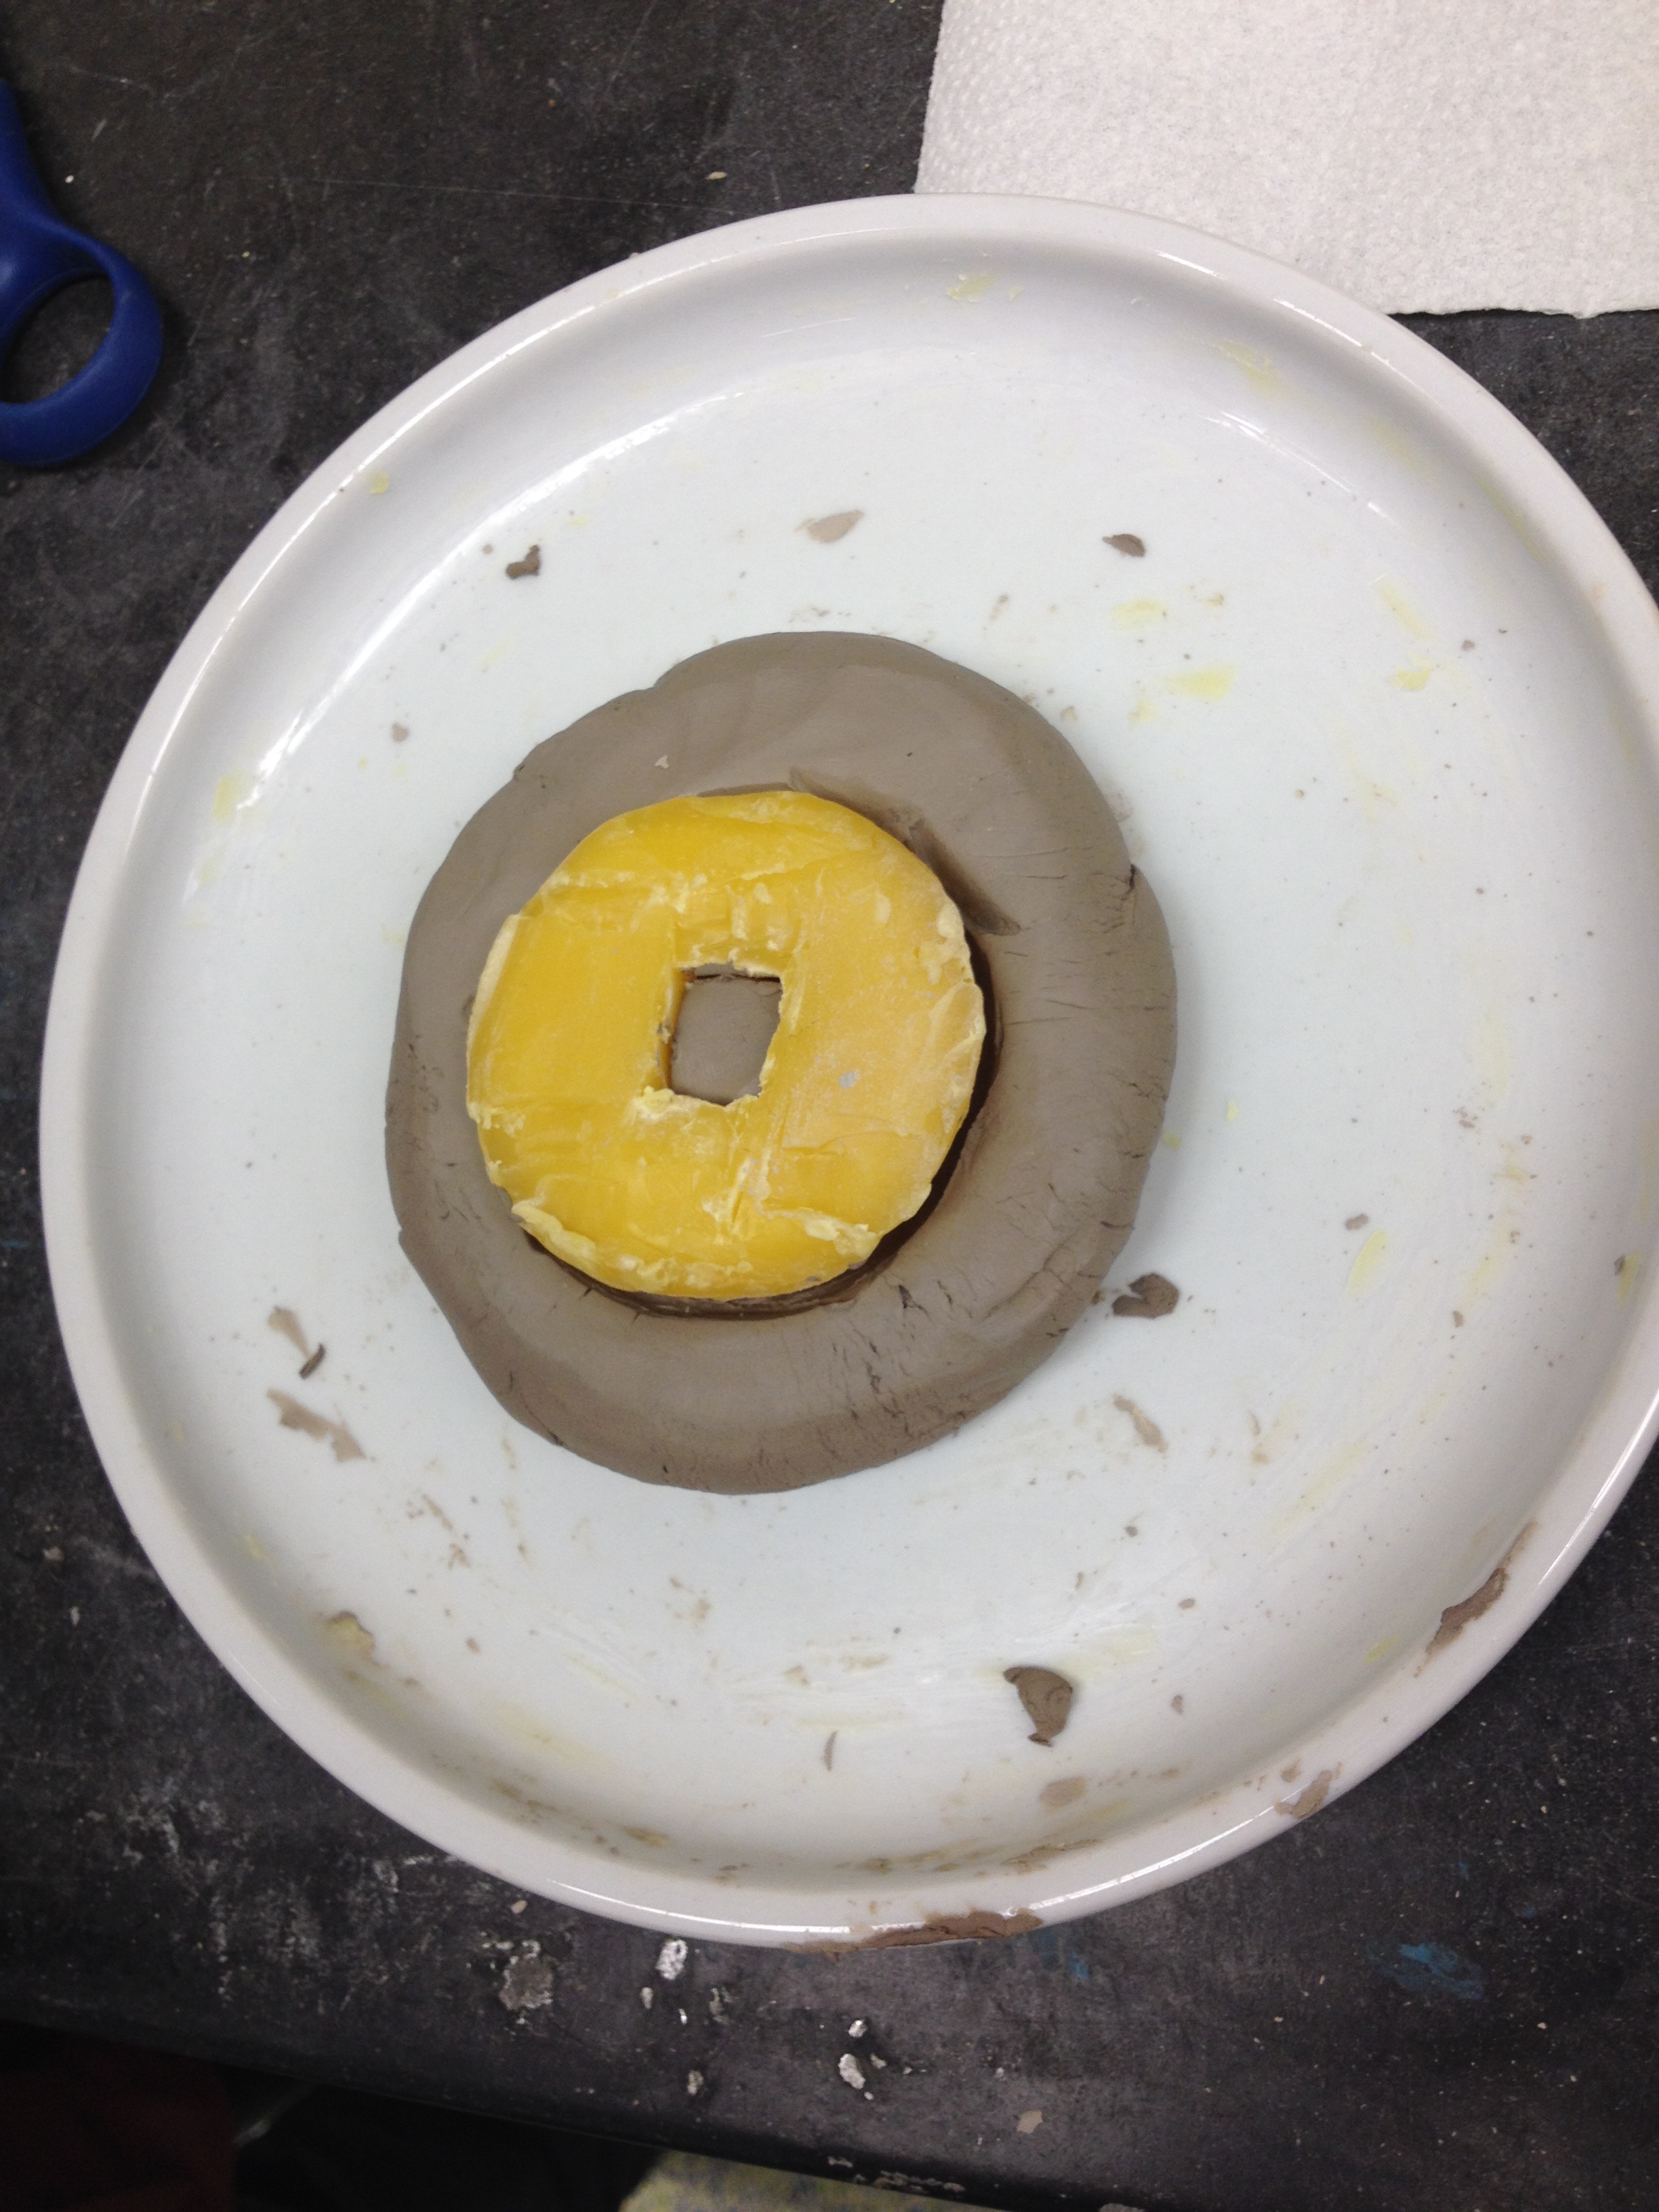

- The wax detached successfully from the clay. I did some clean-up work on the clay using a wooden tip to clarify the inscriptions since the inscription on wax was messy due to the stickiness of wax.
- Tony prepared the plaster

- Added water into a bowl
- Added commercial plaster of paris into the water through a sieve
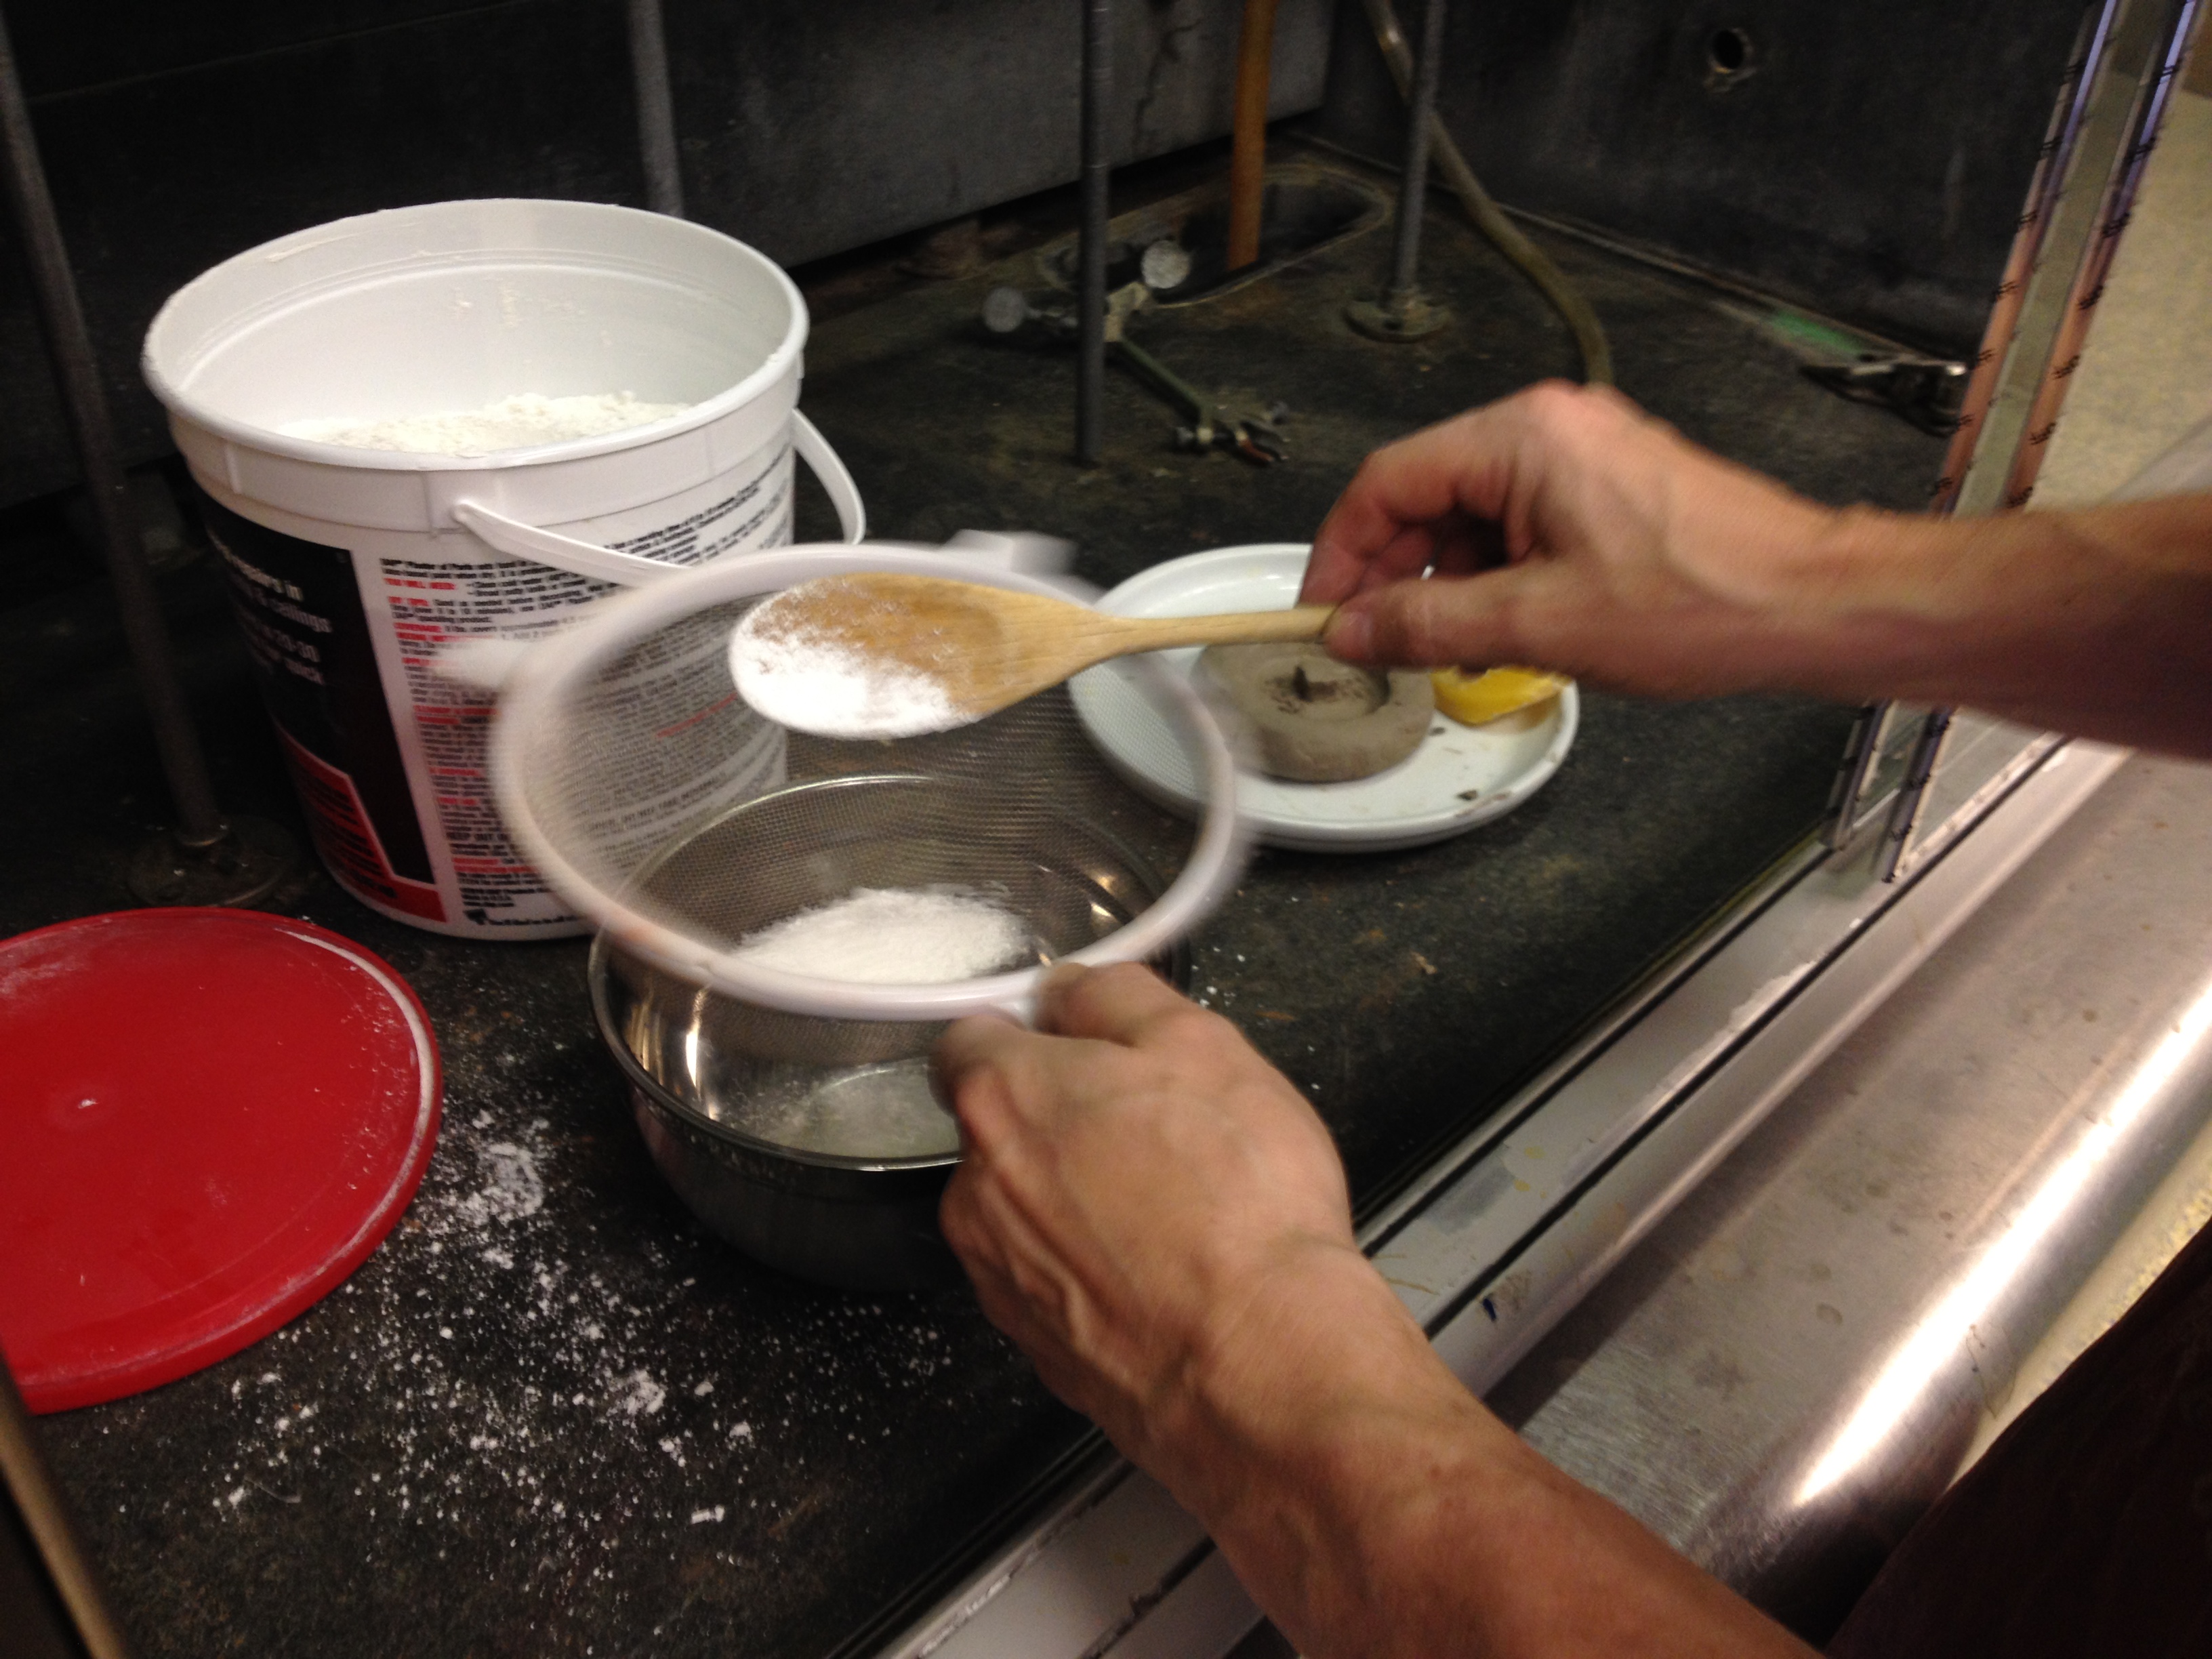
- Kept adding plaster and stirring the plaster and water mix until it looked a little bit thinner than syrup
 .
.
- Poured the plaster into the clay mold. Shake the clay mold to move the air in plaster to the surface
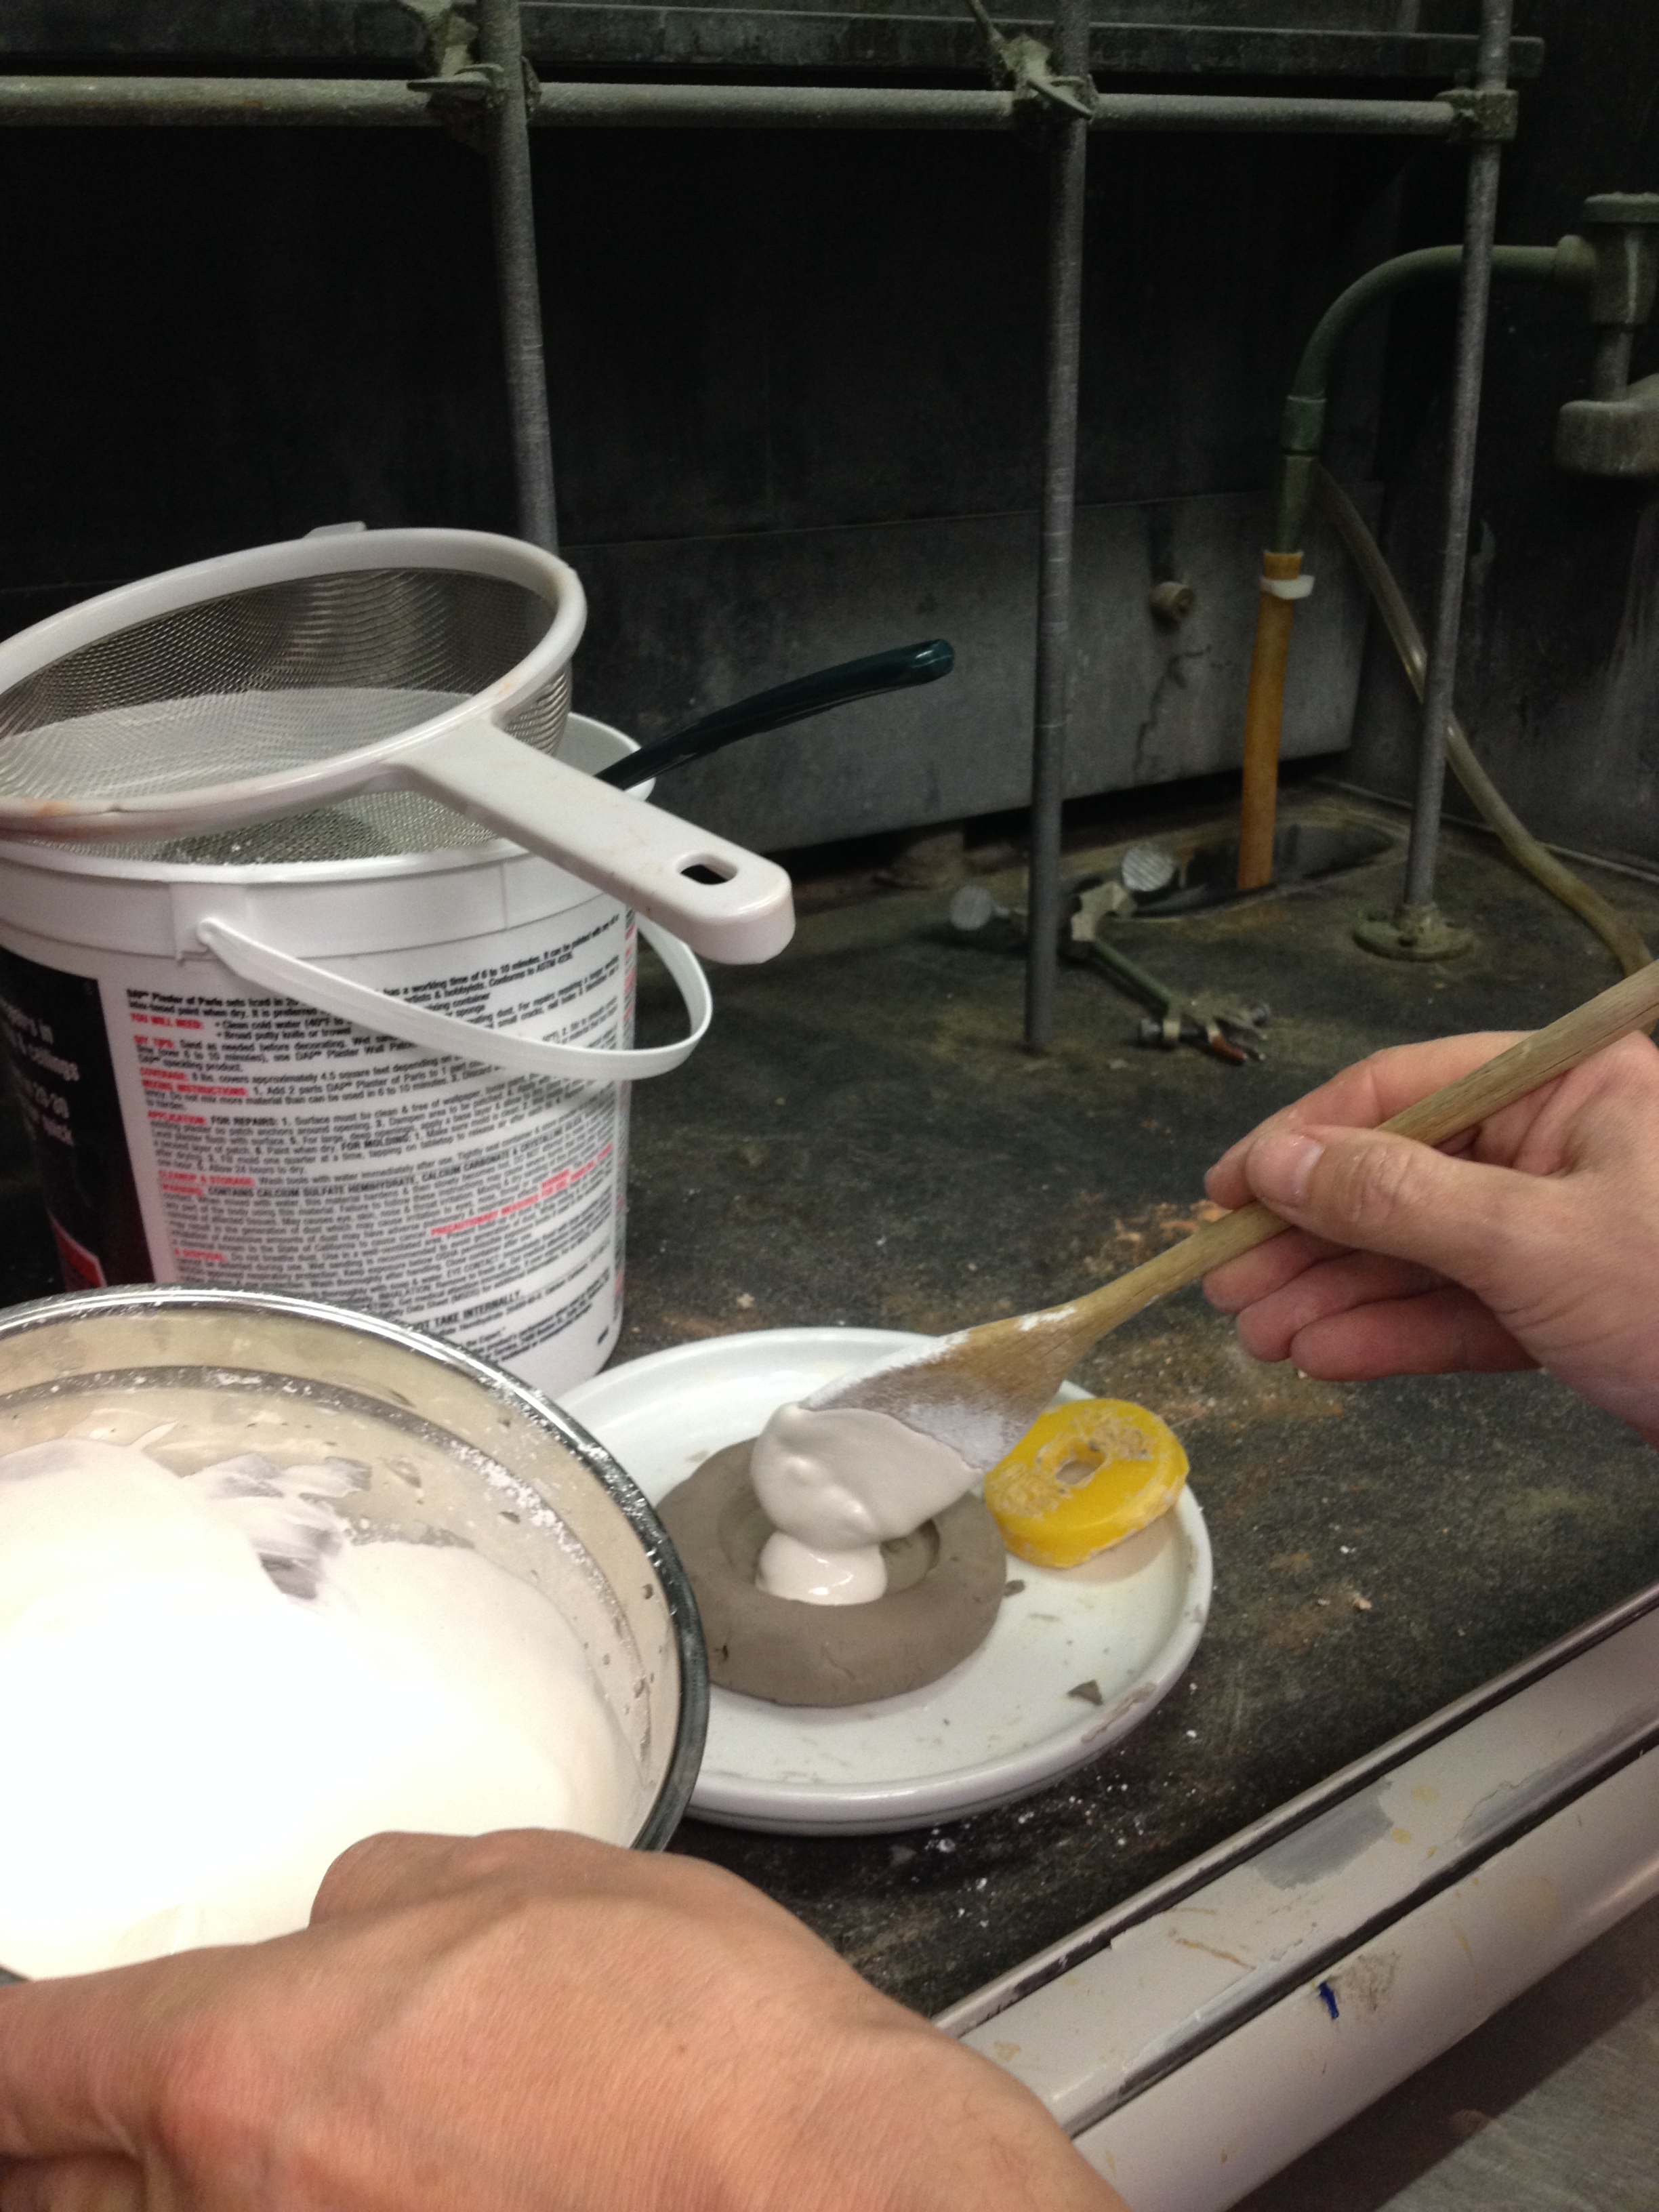
- Left the plaster in the lab for it to dry
Oct. 10, 2014 Polishing Plaster Model
NAME: Yijun, Michelle, Diana, TonnyDATE AND TIME: Oct. 10,10 2014 9:00-11:00 AM
LOCATION: Columbia University, Chandler Hall Rm. 260 - Manhattan, NY
SUBJECT: Polishing plaster model
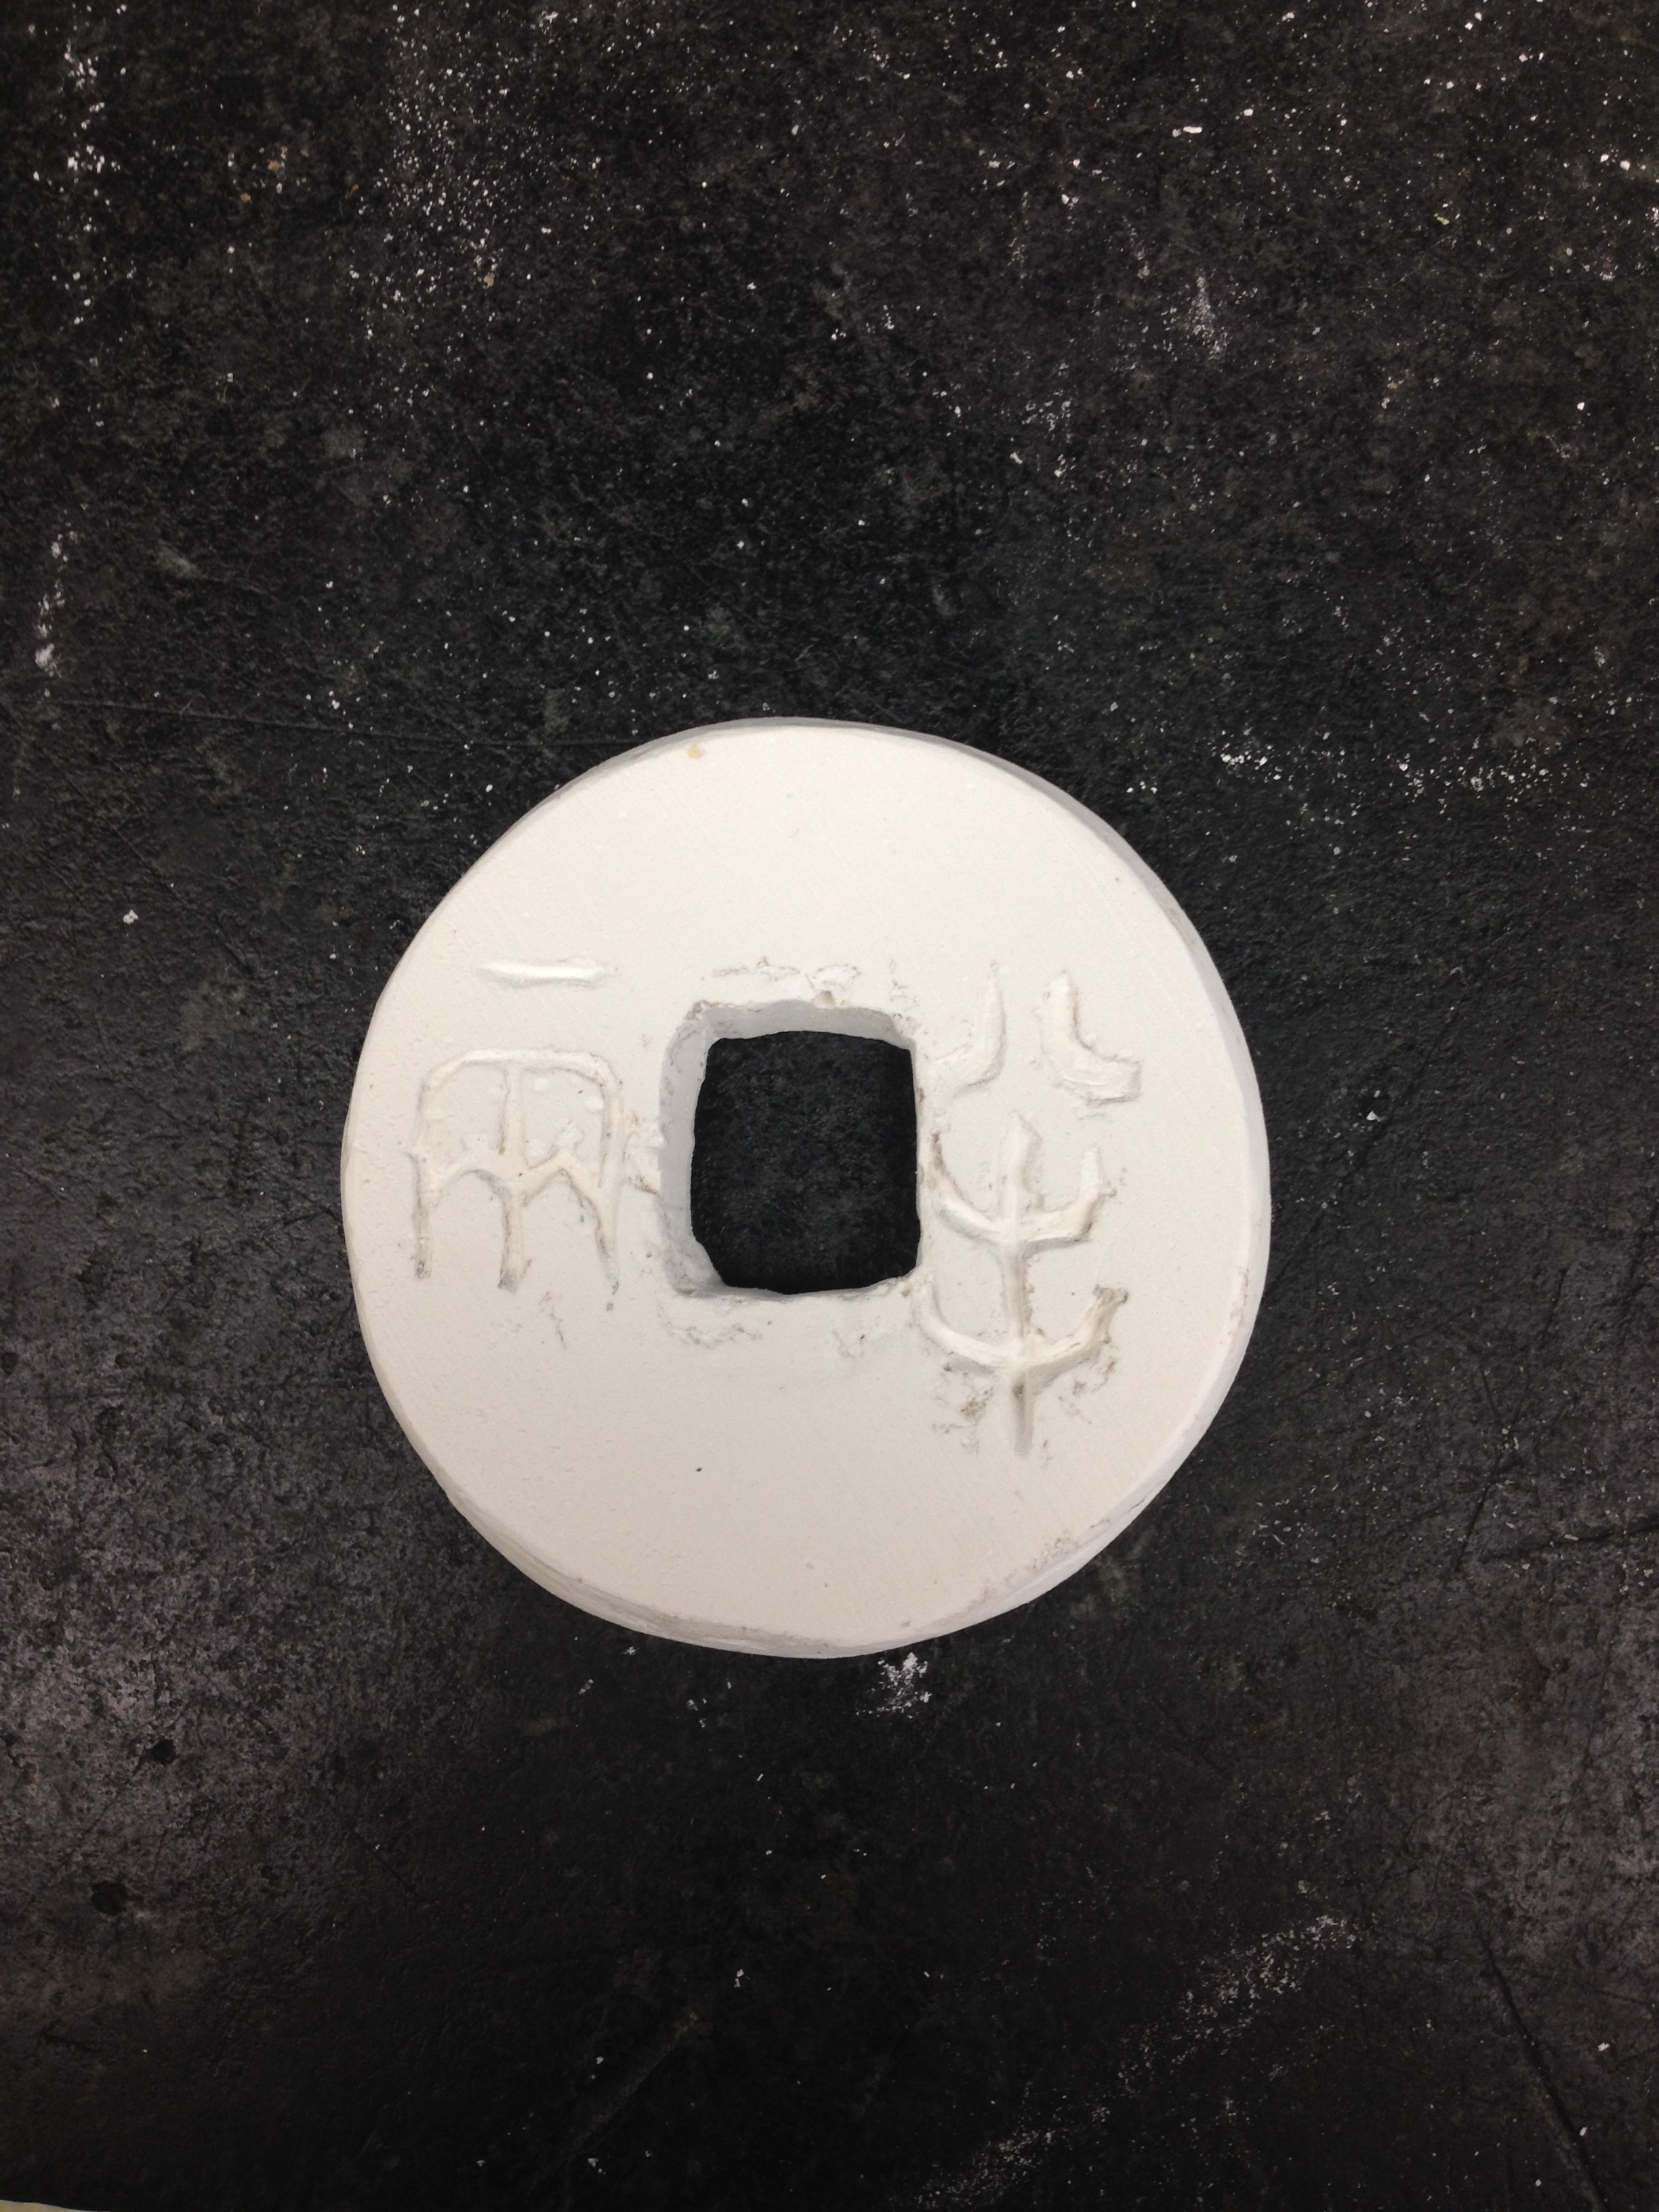
- The plaster model was dried and hardened. I pulled it out easily from the clay.
- Tonny pointed out that I should make the surface flat and clean so that I can make a good sand cast. The wall of the inscription should be in a gradual slope for sand cast. Also the rim of the coin should be smooth and with hard edges to make it more touch friendly. Furthermore, the thickness of my plaster model was not even. So I had to make it even.
- Using sand paper, I polished the upper surface and bottom to get rid of the unevenness. I used the file to polish the rim of my plaster model to remove sharp angles.
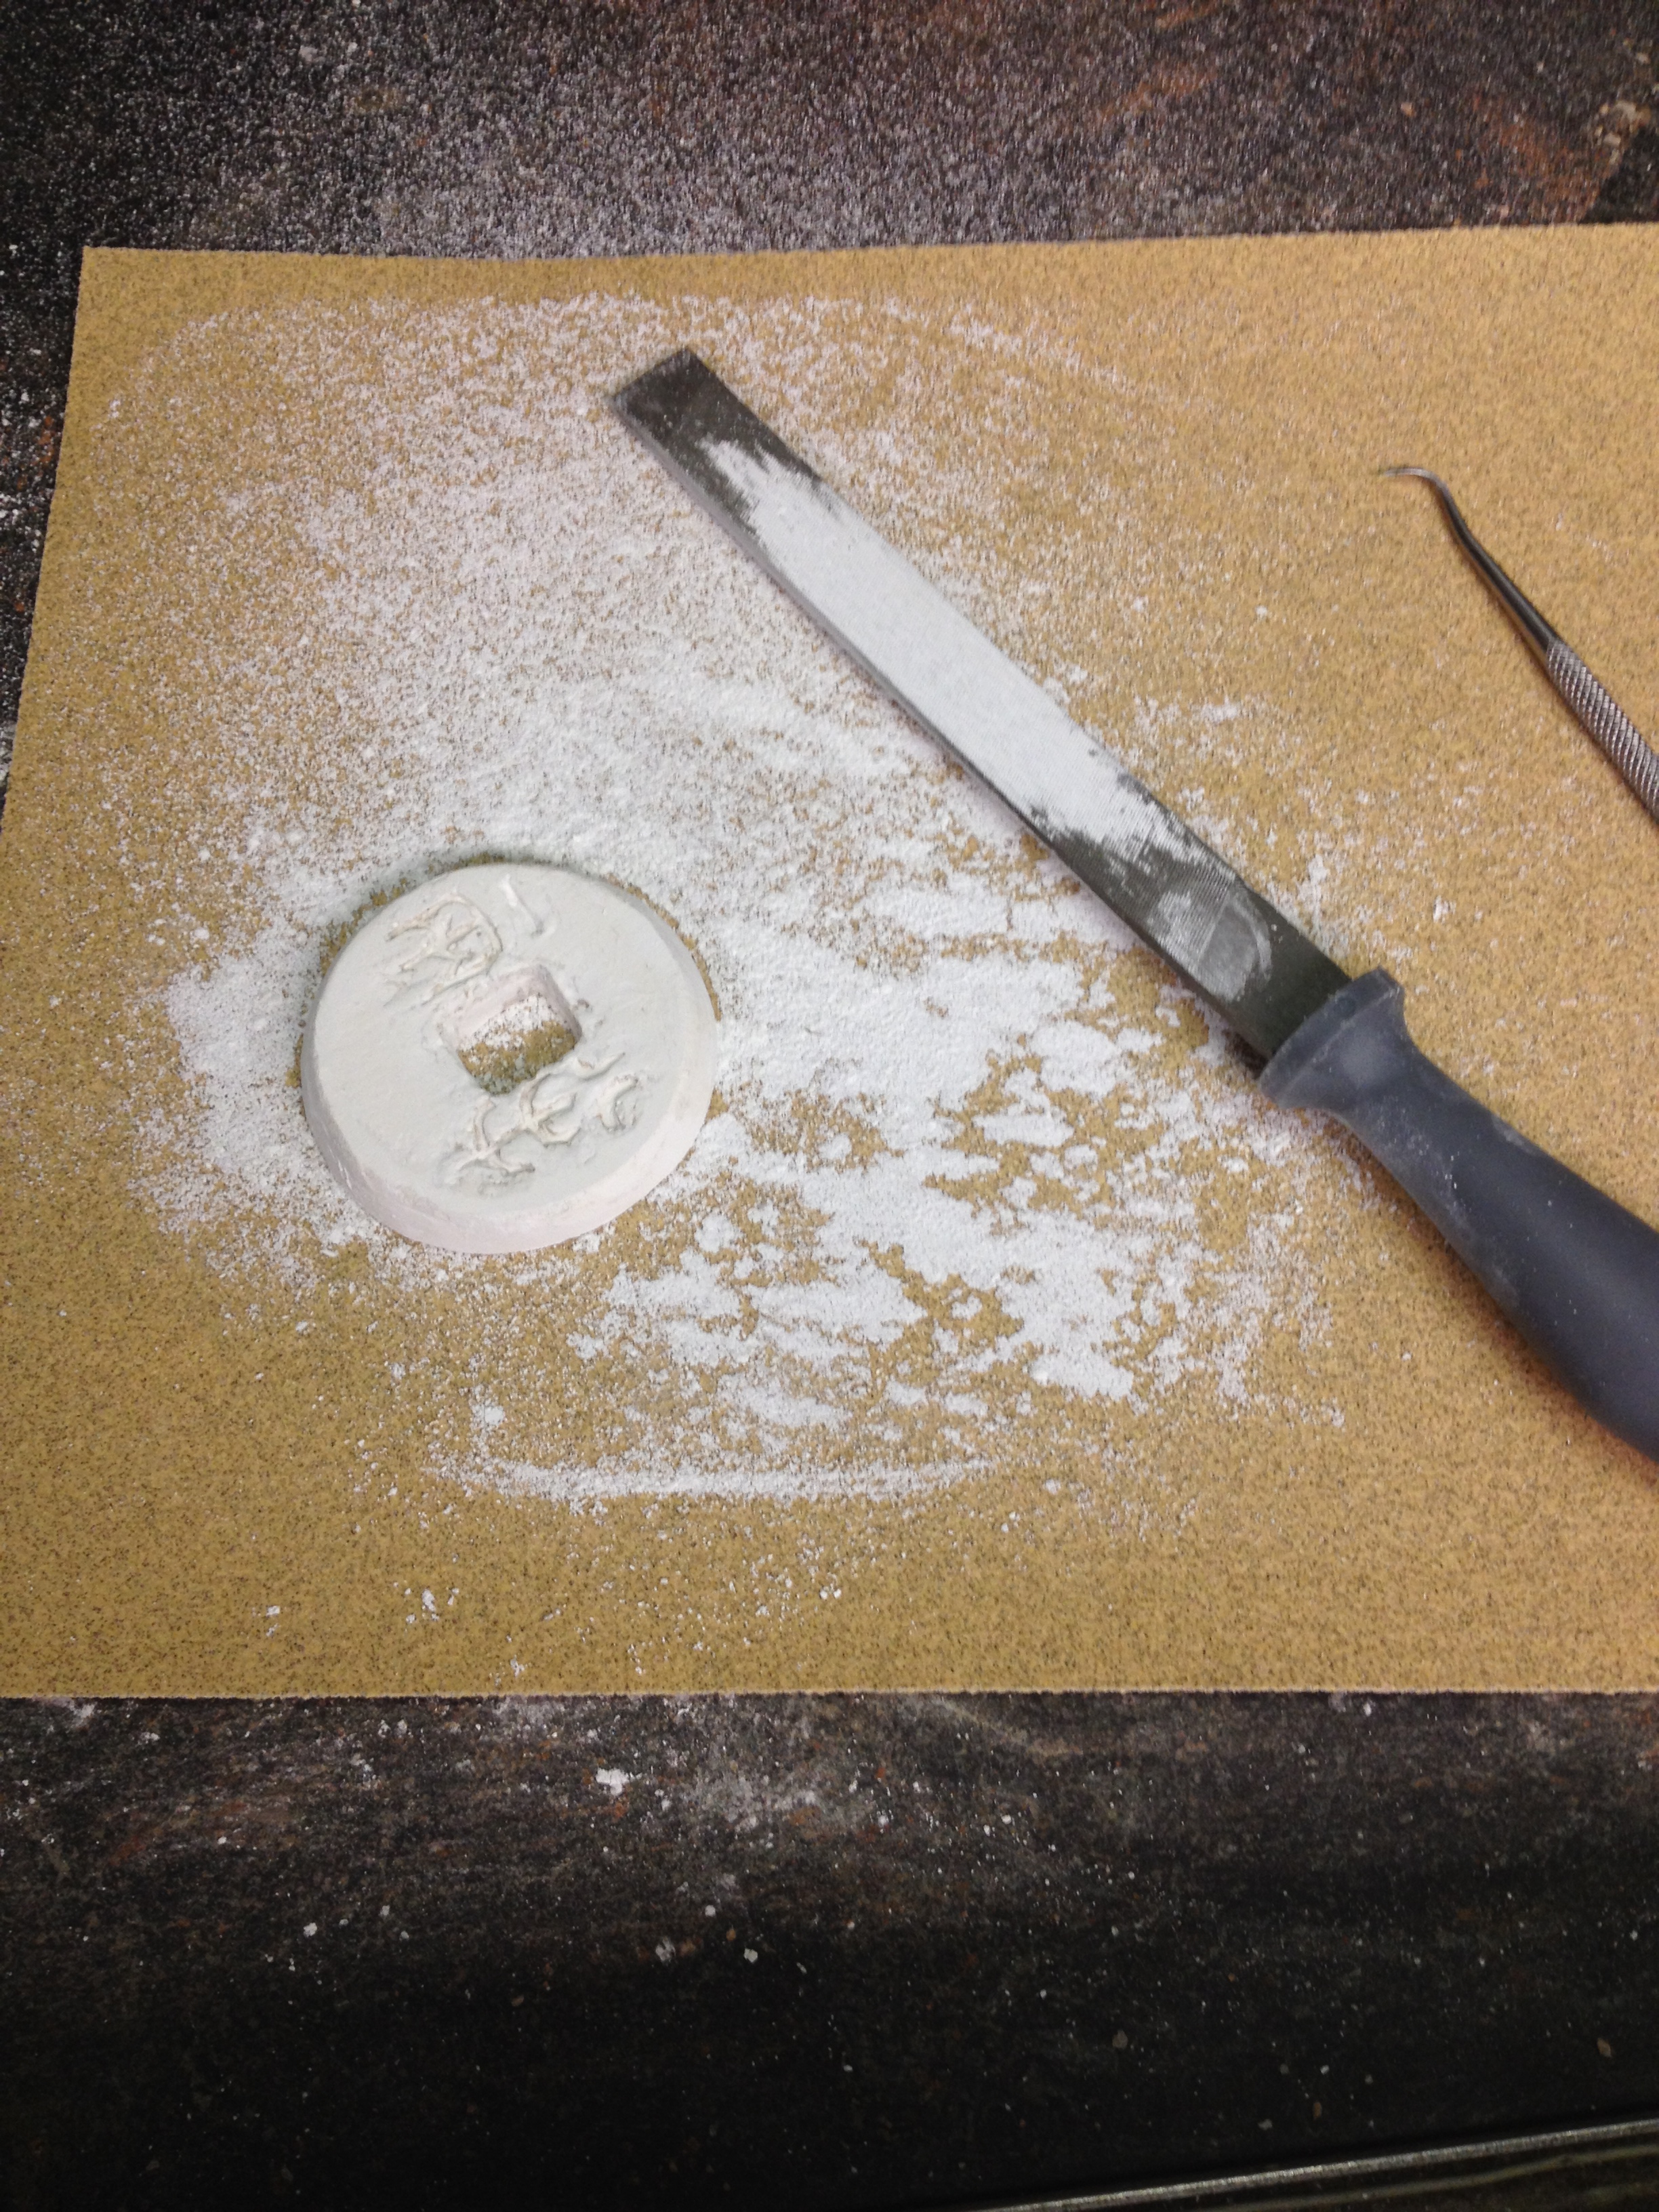
- Using was carving tools, I “remade” the inscription by scratching the plaster, making the inscriptions deeper and clearer.
- The heavily worked plaster looked much better than my wax model!
- Tonny pointed out that we should add some hardener to our wax instead of using 100% beeswax. The hardener would prevent the wax from being sticky so that we can work with wax the way we worked with plaster.